There’s something comforting and special about homemade bread, particularly when it’s just taken out of the oven and has that tender, fluffy texture perfect for sandwiches. A well-made sandwich bread is the cornerstone of many meals, whether it’s a classic grilled cheese, a deli sandwich stacked high with meats and cheeses, or even something as simple as a peanut butter and jelly. With this simple sandwich bread recipe, you’ll be able to create homemade loaves that are not only easy to make but deliciously satisfying for any occasion.
In this article, we will walk you through every step of making the perfect sandwich bread at home. Whether you’re an experienced baker or a complete beginner, this recipe is designed to help you achieve consistently excellent results. From the basic ingredients you need to the right techniques for kneading and proofing, we’ll cover it all. Let’s dive into the process!
Why Make Your Own Sandwich Bread?
Before we get into the details of this sandwich bread recipe, let’s explore why you should consider making your own bread at home.
Healthier Ingredients
When you make bread at home, you control exactly what goes into it. Store-bought bread often contains preservatives, high amounts of sugar, and unnecessary additives. Homemade bread, on the other hand, is free of these extras.
Cost-Effective
Making your own sandwich bread is often more affordable than buying pre-packaged loaves. You can make great bread without going over budget if you have a few simple pantry supplies.
Freshness
There’s nothing quite like the taste and texture of freshly baked bread. The aroma that covers your kitchen alone is worth the effort, and the taste of bread straight from the oven is unbeatable.
Customization
When you make your own bread, The recipe can be tailored to fit your tastes. Want to add some whole grains? Go for it! Prefer a slightly sweeter loaf? Adjust the sugar content. The possibilities are endless.
Now that you know why making homemade bread is a great idea, let’s get to the actual sandwich bread recipe.
Ingredients for Homemade Sandwich Bread
One of the best parts of this sandwich bread recipe is its simplicity. You don’t need a lot of fancy ingredients—just basic kitchen staples. Here’s what you’ll need:
- 4 cups of bread flour: Compared to all-purpose flour, bread flour contains more protein, which helps give the bread structure and the deliciously chewy texture we associate with sandwich bread.
- 2 teaspoons of active dry yeast: The secret component that causes your bread to rise is yeast.
- 2 tablespoons of sugar: In addition to giving the bread a hint of sweetness, sugar feeds the yeast.
- 1 ½ teaspoons of salt: Salt enhances the flavor of the bread.
- 1 ½ cups of warm water (110°F to 115°F): The water should be just warm enough to kill the yeast, but not hot enough.
- 2 tablespoons of unsalted butter, melted: Butter adds richness to the bread, making it soft and tender.
Optional Ingredients
If you’d like to add more flavor or texture to your sandwich bread, here are some optional ingredients you can incorporate into the recipe:
- 1 tablespoon of honey: For a slightly sweeter loaf.
- 2 tablespoons of olive oil: This makes a lighter, more Mediterranean-style bread when it is used in place of the butter.
- 1 cup of whole wheat flour: You can use 1 cup of whole wheat flour in place of bread flour for a heartier, more healthy bread.
Also Read: Understanding Glútem | Health Benefits and Risks
Step-by-Step Sandwich Bread Recipe

Easy steps break down this simple sandwich bread recipe so you can follow along at your own leisure.
Activate the Yeast
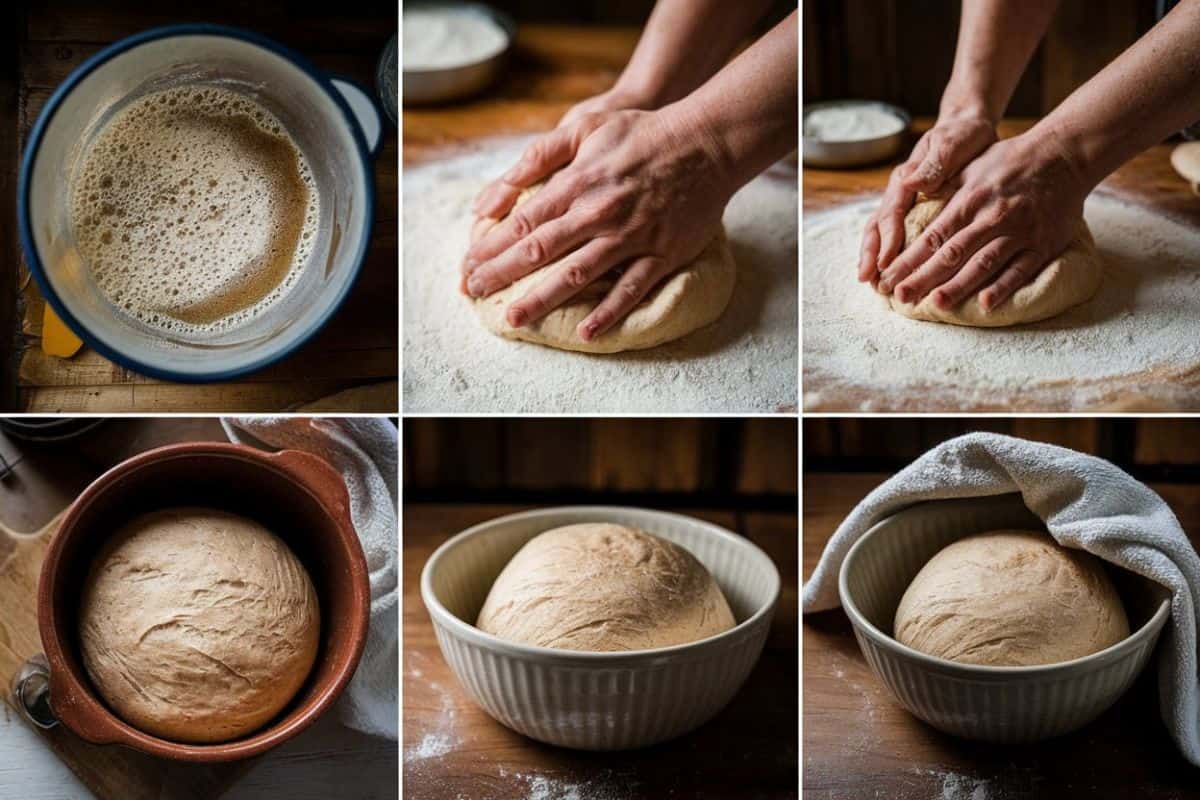
Begin by activating the yeast. Two teaspoons of active dry yeast and two tablespoons of sugar should dissolve in one and a half cups of warm water in a large mixing dish. Make sure the water is warm (between 110°F to 115°F) to help activate the yeast without killing it. Let this mixture sit for about 5-10 minutes until it becomes frothy and bubbly. This is a sign that your yeast is alive and active.
Mix the Dry Ingredients
While the yeast is activating, mix the dry ingredients in a separate bowl. Combine 4 cups of bread flour and 1 ½ teaspoons of salt. Stir them together to ensure that the salt is evenly distributed throughout the flour.
Combine Wet and Dry Ingredients
When the yeast mixture is ready, gradually incorporate the dry ingredients into it. Additionally, pour the melted butter into the bowl. Mix everything together using a wooden spoon or the dough hook on a stand mixer. Although sticky at first, the dough will start to come together.
Knead the Dough
The dough must be kneaded as a necessary step in developing the gluten structure that gives bread its chewy texture. If you’re kneading by hand, After dusting a clean area with flour, knead the dough for 8 to 10 minutes. You’ll know the dough is ready when it becomes smooth and elastic, and it no longer sticks to your hands.
Knead dough in a stand mixer fitted with a dough hook for five to six minutes on medium speed.
First Rise (Proofing the Dough)
Once your dough is well-kneaded, it’s time for the first rise. Once the dough has been placed in a lightly oiled basin, cover it with a fresh kitchen towel. Allow the dough to rise for one to one and a half hours, or until it’s in a warm, draft-free space, and has doubled in size.
Form the Dough
Punch down the dough carefully to release some of the trapped air bubbles once it has risen. Shape the dough into a loaf by transferring it on a sanitized surface. To do this, flatten the dough slightly into a rectangle and then roll it up tightly, tucking the ends under to create a smooth, loaf-like shape.
Second Rise
Shape the dough and then slide it to a 9 x 5-inch bread pan that has been oiled. The dough should rise for a further thirty to forty-five minutes, or until it is about one inch over the loaf pan’s border, before you cover it once more with the kitchen towel.
Bake the Bread
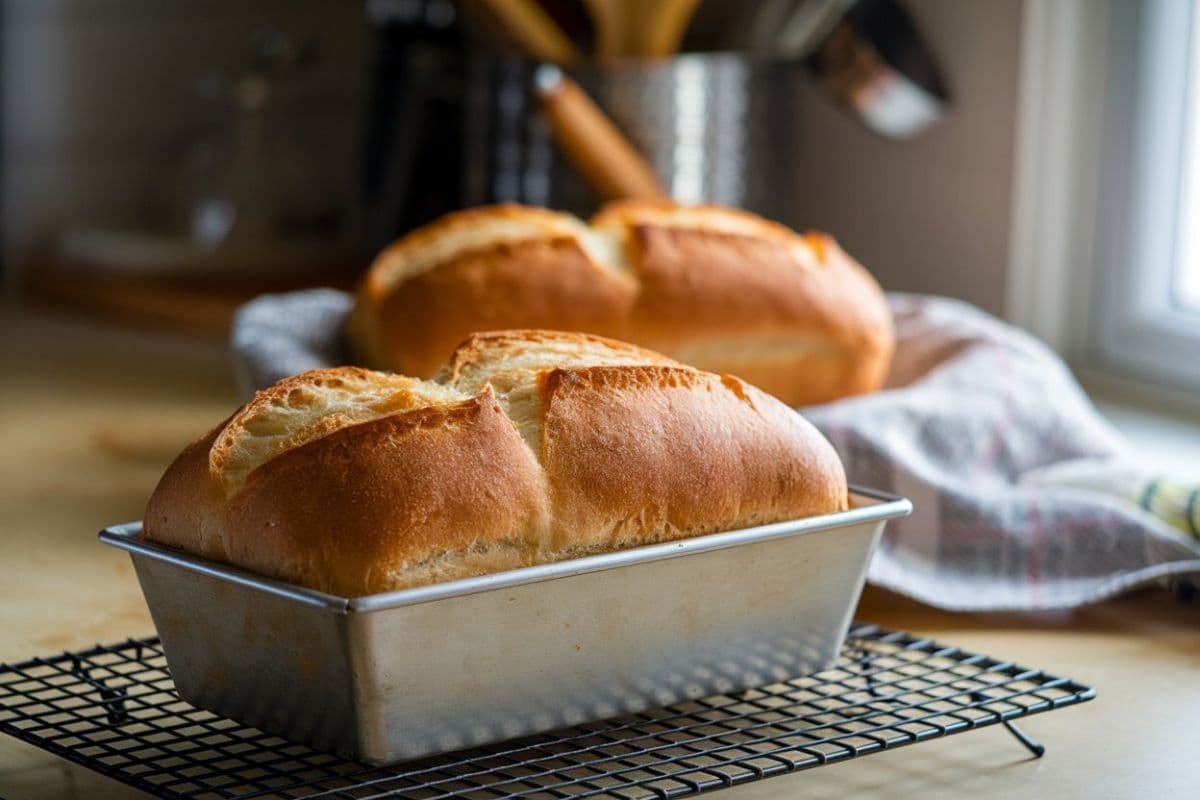
Set your oven to 375°F (190°C) while the dough is doing its second rise. After the dough has risen, After preheating the oven, place the loaf inside and bake it for 30 to 35 minutes, or until the loaf feels hollow to the touch and the top is golden brown.

Cool and Slice
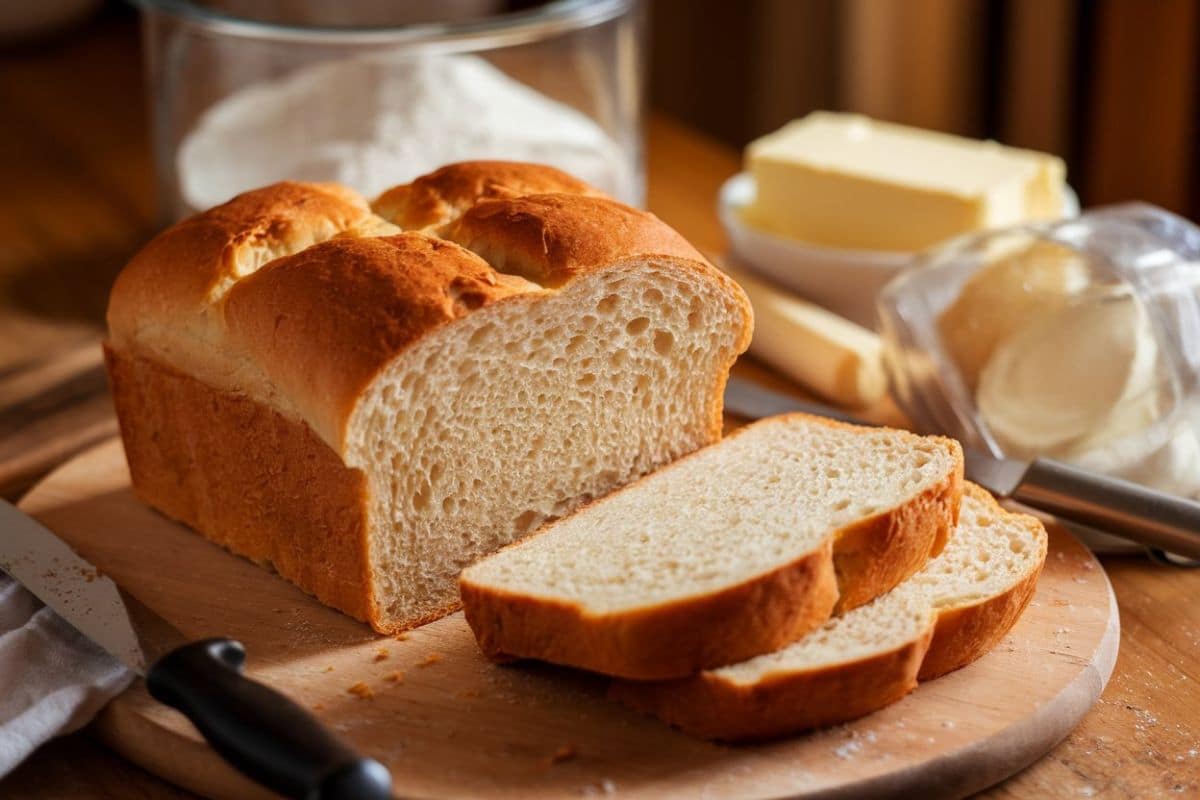
After taking the bread out of the oven, allow it to cool for ten minutes or so in the pan. When the loaf is entirely cool, move it to a wire rack and cut into slices. It’s important to let the bread cool fully before slicing to ensure you get clean, even slices.
Tips for the Best Homemade Sandwich Bread
- Use bread flour: Bread flour is key to achieving the ideal texture for sandwich bread. Its higher protein content helps develop the gluten that gives the bread its chewy yet soft crumb.
- Don’t rush the proofing process: Allowing your dough to rise fully is crucial for achieving a light and airy loaf. Allow the dough to double in size throughout the two proving phases, and exercise patience.
- Test your yeast: Always check the expiration date on your yeast, and if you’re unsure whether it’s still active, test it by adding a teaspoon of sugar to warm water and see if it bubbles after 5-10 minutes.
- Keep the dough soft but manageable: If the dough feels too sticky while kneading, a tablespoon at a time, add tiny amounts of flour, until it becomes workable but still slightly tacky.
Also Read: Puff Pastry Shells Recipes, Techniques And Preparing Tips
Serving Ideas for Your Homemade Sandwich Bread
This homemade sandwich bread recipe is incredibly versatile. Here are some ways to enjoy it:

- Classic Sandwiches: Use your freshly baked bread for ham and cheese, turkey club, or grilled vegetable sandwiches. The soft texture is perfect for absorbing sauces and holding ingredients together.
- Toast: Spread butter, jam, or peanut butter on slices of your bread and toast them for a simple yet satisfying breakfast.
- Grilled Cheese: The fluffy interior and crisp crust of this bread make it ideal for grilled cheese sandwiches.
- French Toast: For a sweet twist, use this bread to make French toast. The thick slices absorb the egg mixture beautifully, resulting in rich and delicious French toast.
How to Store Your Own Sandwich Bread
To keep your homemade sandwich bread fresh, for up to three days, keep it at room temperature in an airtight container. You can freeze the bread to keep it fresh for longer by placing it in a freezer bag after securely wrapping it in plastic wrap. When you’re ready to use it, simply thaw the bread at room temperature or toast slices directly from the freezer.
Conclusion
Making your own sandwich bread at home is a rewarding experience that results in a delicious and versatile loaf. This simple sandwich bread recipe is perfect for beginners and seasoned bakers alike, offering a soft, fluffy loaf that’s perfect for sandwiches, toast, and more. With just a few basic ingredients and some time, you can enjoy fresh, homemade bread that’s healthier, more affordable, and tastier than anything you’ll find at the store.
Give this sandwich bread recipe a try, and you’ll never want to go back to store-bought bread again.
Frequently Asked Questions (FAQs)
On average, it takes about 3 hours, including time for mixing, kneading, proofing, and baking.
Yes, you can freeze it. Just wrap the loaf or slices tightly in plastic wrap and store them in a freezer-safe bag for up to 3 months.
Bread flour is ideal for a chewy, soft texture, but you can also use all-purpose flour for a lighter loaf.
The bread should be golden brown on top, and when tapped, it should sound hollow. You can also use a thermometer to check if the internal temperature reaches 190°F.
Absolutely! You can mix in seeds like sesame or sunflower, or herbs such as rosemary, for added flavor and texture.


