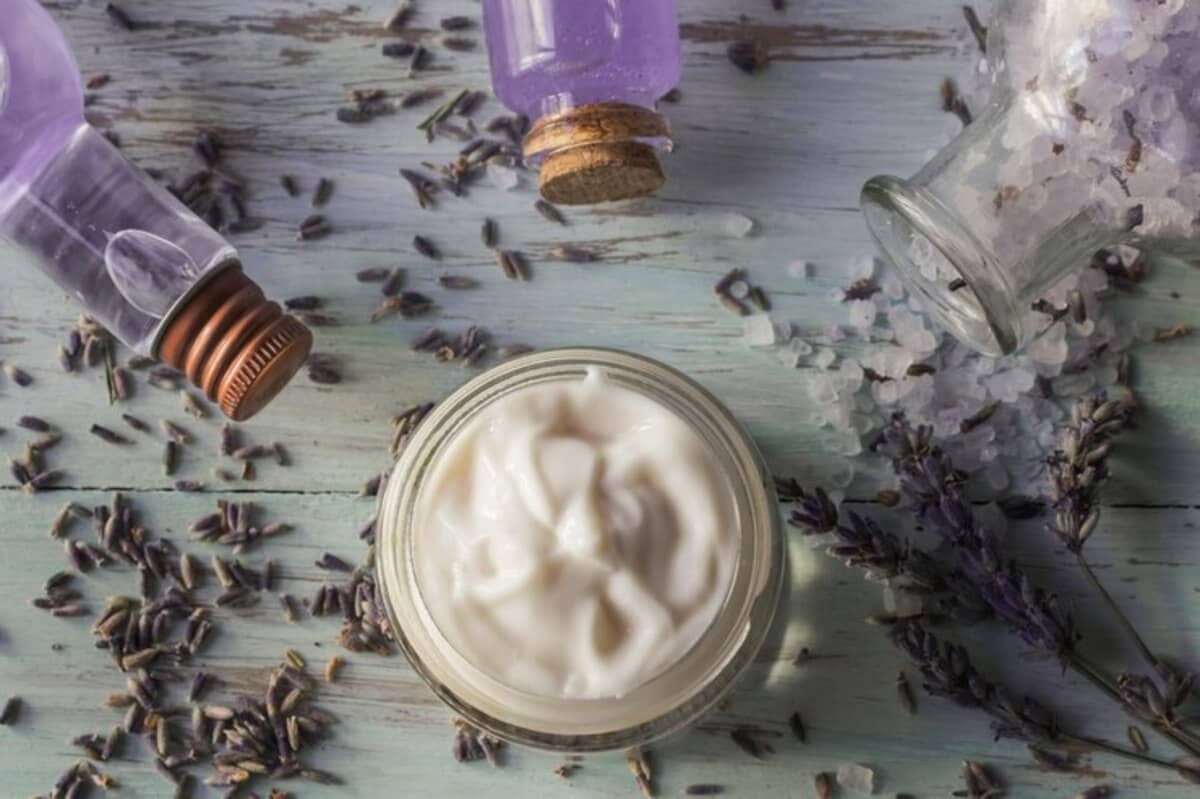
Breast milk lotion has long been recognized for its many health benefits for babies, but did you know it can also be transformed into a nourishing lotion for your skin? Breast milk lotion is a natural, chemical-free moisturizer that will help soothe and heal various skin conditions. We’ll guide you through the steps to make your breast milk lotion at home.
Contents Overview
- Why Choose Breast Milk Lotion?
- Nutrients and Beneficial Ingredients in Breast Milk Lotion
- Vitamins in Breast Milk
- Ingredients and Supplies
- Step-by-Step Guide to Making Breast Milk Lotion
- Troubleshooting Common Issues with Breast Milk Lotion
- Conclusion
Why Choose Breast Milk Lotion?
Breast milk lotion is packed with natural antibodies, vitamins, and minerals that benefit the skin. Here are some of the key benefits:
- Moisturizes the Skin: Breast milk lotion is a fantastic moisturizer keeps our skin hydrated and soft.
- Soothes Skin Conditions: It can help with eczema, diaper rash, and minor cuts or scrapes.
- Natural and Chemical Free: Unlike many store-bought lotions, breast milk lotions contain no artificial ingredients or preservatives.
Nutrients and Beneficial Ingredients in Breast Milk Lotion
Breast milk lotion is renowned for its natural and nourishing properties, derived from the rich composition of breast milk and other beneficial ingredients. Here’s a breakdown of the critical vitamins and ingredients found in breast milk lotion and their benefits for the skin:
Vitamins in Breast Milk
- Vitamin A: Important for skin maintenance, vitamin A cell turnover, helping to keep skin smooth and healthy. It also has anti-inflammatory properties that can help with redness and inflammation in the skin.
- Vitamin D: Helps skin cell growth, repair, and metabolism. It enhances the skin’s immune system and destroys free radicals that can cause premature aging.
- Vitamin E: Known for antioxidant properties, vitamin E helps skin from damage caused by free UV exposure. It also has moisturizing and healing benefits, making it great for dry and damaged skin.
- Vitamin K: This vitamin is essential for healing wounds and bruises. It also helps decrease the stretch marks, and dark circles.
- Vitamins (B6, B12, and Folate): These vitamins are crucial for skin health, promoting cell growth and repair. They also help maintain the overall health of the skin, reduce dryness, and improve texture.
Ingredients and Supplies
To make breast milk lotion, you’ll need the following ingredients and supplies:
- 1/2 cup breast milk: Fresh or frozen breast milk that has been thawed.
- 1/2 cup coconut oil: Provides additional moisturizing properties.
- One tablespoon beeswax: This helps to solidify the lotion.
- One tablespoon of shea butter: Adds extra nourishment to the skin.
- Essential oils (optional): For fragrance and additional skin benefits.
- Microwave safe bowl: For melting the ingredients.
- Whisk or hand blender: Mix the ingredients thoroughly.
- Sterilized container: For storing the lotion.
Step-by-Step Guide to Making Breast Milk Lotion
Creating your breast milk lotion at home is rewarding and straightforward. Following these detailed steps can produce a nourishing and effective moisturizer.
Prepare Your Ingredients
Gather all the necessary ingredients before making breast milk lotion, and ensure your tools are clean and sterilized. This step is important to prevent any impurities that could spoil the lotion. You’ll need 1/2 cup of breast milk, which can be fresh or previously frozen and thawed to room temperature. Coconut oil (1/2 cup) is chosen for its excellent moisturizing properties, while one tablespoon of beeswax acts as a natural thickener.
Additionally, one tablespoon of shea butter adds a rich, nourishing quality to the lotion. Optional essential oils like lavender can be included for fragrance and extra skin benefits. Equip yourself with a double boiler or a microwave-safe bowl, a whisk or hand blender, and sterilized containers for storing the finished lotion.
Melt the Oils and Beeswax
Mix coconut oil, beeswax, and shea butter in a double boiler or a microwave-safe bowl. Place the ingredients in the top section of the double boiler and gently heat over simmering water, stirring occasionally until thoroughly melted and blended. Heat the ingredients for 15-20 seconds for the microwave method, stirring between intervals until everything is completely melted. Be careful not to overheat, which can degrade the ingredients’ beneficial properties.
Combine the Breast Milk
Once the oils and beeswax mixture is melted and well combined, remove it from the heat source. Allow it to cool slightly to avoid scalding the breast milk, but ensure it remains warm enough to mix smoothly. Slowly add the room-temperature breast milk to the mixture, whisking continuously. This step is important to prevent the mixture from separating. If separation occurs, keep whisking until the ingredients blend uniformly.
Add Essential Oils (Optional)
If you wish to incorporate essential oils for added fragrance and skin benefits, now is the time. A few drops of oils like chamomile can enhance the soothing properties of your breast milk lotion. Stir the essential oils into the mixture thoroughly to ensure even distribution.
Blend Until Smooth
Use a hand blender to mix the ingredients for a smoother consistency. This blending process helps emulsify the mixture, ensuring that the breast milk lotion remains well combined and does not separate over time. Continue blending until you achieve a creamy, homogeneous texture.
Pour into Containers
Once your breast milk lotion is well-mixed and smooth, carefully pour it into sterilized containers. Allow the lotion to cool completely before sealing the containers with their lids. Proper storage is essential to maintain the lotion’s quality and extend its shelf life.
Storage and Shelf Life
Store your breast milk lotion in the refrigerator to prolong its freshness and effectiveness. When refrigerated, homemade breast milk lotion can last about two weeks. For more extended storage, consider freezing the lotion in small, single-use portions that can be thawed as needed.
Usage Tips
Breast milk lotion can be used as a daily moisturizer to keep skin hydrated and soft. It’s also practical for soothing eczema, diaper rash, or minor cuts, promoting healing with its natural properties. Additionally, breast milk lotion makes a thoughtful and personal gift for new mothers, showcasing the versatility and benefits of breast milk beyond breastfeeding.
Troubleshooting Common Issues with Breast Milk Lotion
Making breast milk lotion at home can be a rewarding experience, but some common issues might arise. Here’s how to troubleshoot and resolve them:
Separation of Ingredients
One frequent problem is the separation of ingredients. If your lotion isn’t combining well, ensure that the melted oils and breast milk are at similar temperatures. Let the melted oils cool slightly, but stay warm enough to blend smoothly with the breast milk. Whisk continuously and vigorously during mixing, or use a hand blender to achieve a smoother, more stable emulsion. Ensure you’re using the correct amount of beeswax, which helps bind the ingredients together. If separation persists, try adding more beeswax and re-melting the mixture.
Grainy Texture
If the shea butter or beeswax does not melt properly, the lotion can have a grainy texture. To avoid this, ensure all ingredients are completely melted and thoroughly mixed. Let the mixture cool slowly at room temperature before placing it in the refrigerator, as rapid cooling can cause the fats to crystallize, resulting in a grainy texture.
Odor Issues
Since breast milk has a distinct smell, the lotion can sometimes carry this odor, which might be unpleasant for some. Add a few drops of essential oils like lavender, chamomile, or citrus to mask the natural scent. These not only improve the fragrance but also offer additional skin benefits. Additionally, ensure the breast milk you use is fresh and properly stored. Using old or improperly stored milk can result in an unpleasant odor.
Short Shelf Life
Breast milk lotion has a shorter shelf life than commercial lotions because it lacks preservatives. To extend its shelf life, always store the lotion in the refrigerator, which can last up to two weeks. For extended storage, freeze the cream in small, single-use portions to thaw as needed. Ensure all tools and containers are thoroughly sterilized before use to prevent contaminants that could cause the lotion to spoil faster.
Inconsistent Consistency
If your breast milk lotion is inconsistent in consistency, being too thick or too runny, you can adjust the ingredients accordingly. If the lotion is too thick, reduce the amount of beeswax slightly. If it’s too runny, add a bit more beeswax to thicken it. After making these adjustments, melt and mix the ingredients thoroughly again. A hand blender can help achieve a more consistent texture by thoroughly blending the mixture until smooth and uniform.
Conclusion
Making your breast milk lotion is a beautiful way to utilize the nourishing properties of breast milk beyond breastfeeding. You can create a natural, effective lotion that benefits you and your baby’s skin with just a few simple ingredients and steps. Enjoy the soothing effects of this homemade breast milk lotion, and share the love with friends and family.


